
RV Bathroom Remodel: Your Ultimate Guide to a Luxurious & Functional Space
The RV bathroom. Often cramped, sometimes claustrophobic, and perpetually battling limited space and functionality. But it doesn’t have to be this way. With careful planning and the right approach, your RV bathroom remodel can transform this often-overlooked space into a luxurious and efficient oasis, enhancing your overall RVing experience. This comprehensive guide will walk you through every step, from initial planning to the final touches, helping you create the RV bathroom of your dreams.
Planning Your RV Bathroom Remodel
Before you even think about demolition, thorough planning is crucial. This stage sets the foundation for a successful and stress-free renovation. Here’s what you need to consider:
1. Defining Your Budget and Scope
Establish a realistic budget. RV bathroom remodels can range from simple updates to complete overhauls. Determine which upgrades are essential (fixing leaks, replacing outdated fixtures) versus those you’d like (luxury shower, heated floors). A detailed breakdown of costs—materials, labor (if hiring), permits (where required)—is essential.
2. Measuring Your Space and Assessing Existing Features
Accurate measurements are paramount. Sketch your existing bathroom layout, noting the precise dimensions of walls, plumbing fixtures, and vents. Identify existing features that can be reused or repurposed to save money and time. Consider if you need to relocate fixtures or if the current layout is suitable.
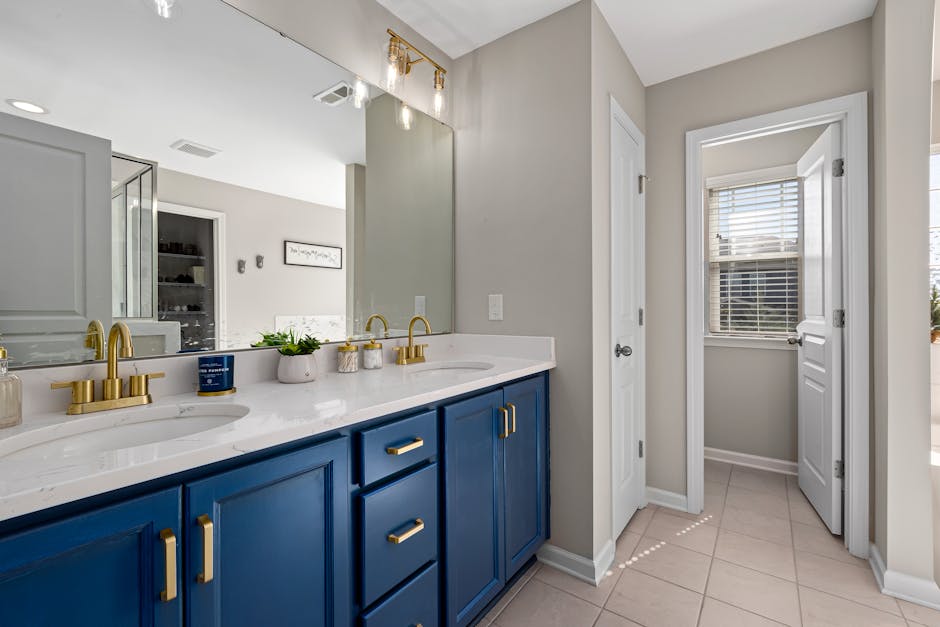
3. Choosing Your Style and Materials
Your RV bathroom’s style should complement your overall RV aesthetic. Do you prefer a modern, minimalist look or a rustic, vintage feel? Material selection significantly impacts durability and maintenance. Consider moisture-resistant materials like marine-grade plywood, fiberglass, and waterproof vinyl flooring. Choose finishes that are both stylish and easy to clean in the often-humid environment.
4. Selecting Fixtures and Appliances
From toilets and sinks to showers and faucets, the selection of fixtures directly affects functionality and comfort. Consider low-flow toilets and showerheads to conserve water, a crucial factor in RV living. Space-saving solutions like corner sinks and compact toilets are often necessary. Research energy-efficient options to minimize your energy consumption while on the road.
The Remodel Process: A Step-by-Step Guide
Once you’ve completed your planning, it’s time to get your hands dirty. This section outlines the key steps in the remodel process:
1. Demolition and Cleanup
Carefully remove existing fixtures and materials, taking photos as you go. This helps with reassembly and troubleshooting. Properly dispose of waste materials, following local regulations. Thoroughly clean the area to ensure a clean working space.
2. Plumbing and Electrical Work
This is often the most complex part of the remodel. If you lack experience, hiring a qualified plumber and electrician is highly recommended. Ensure all plumbing and electrical work complies with RV safety standards and local building codes. This step involves rerouting pipes, installing new fixtures, and running electrical wiring for lighting and ventilation.
3. Installing New Walls and Flooring
Install new wall panels and flooring, ensuring proper moisture barriers and ventilation. Marine-grade plywood is a popular choice for walls, offering durability and resistance to moisture. Choose waterproof flooring options such as vinyl or linoleum for easy cleaning and maintenance. Properly seal all seams to prevent water damage.
4. Installing Fixtures and Appliances
Install your carefully selected fixtures and appliances, ensuring proper connections and functionality. Test all aspects thoroughly before moving on. This includes toilets, sinks, showers, faucets, and any additional lighting or ventilation systems.
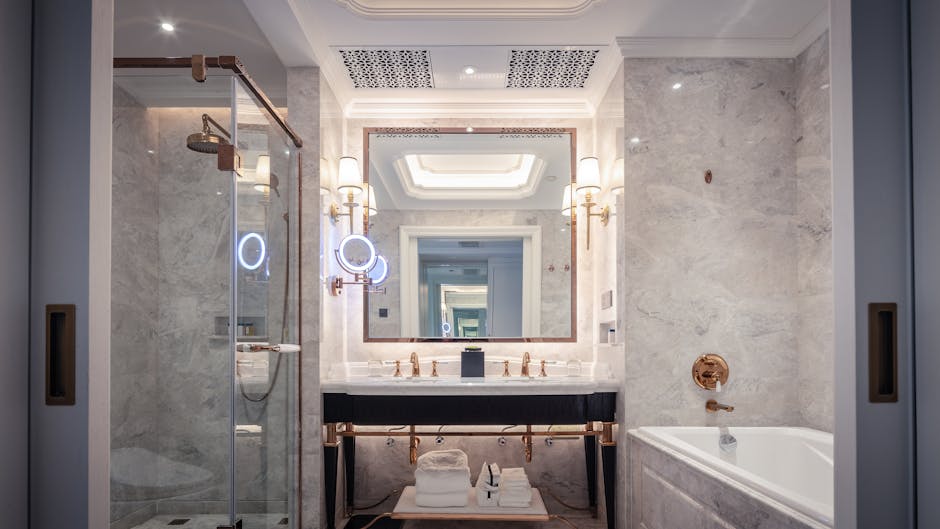
5. Finishing Touches and Detailing
The final stages focus on aesthetics and functionality. Install cabinets, mirrors, and storage solutions. Add finishing touches such as towel bars, soap dishes, and ventilation fans. Ensure everything is properly sealed and protected against moisture.
Essential Considerations for RV Bathroom Remodels
Several crucial aspects require specific attention during your RV bathroom remodel:
1. Ventilation
Proper ventilation is critical to prevent mold and mildew growth in the often-humid RV bathroom environment. Install a quality exhaust fan to ensure adequate airflow. Consider adding vents to further enhance airflow.
2. Water Management
Prevent water damage by using waterproof materials and ensuring all seals are watertight. Regularly inspect for leaks and address any issues promptly. Utilize water-saving fixtures to minimize water usage.
3. Weight Considerations
RVs have weight limitations. Choose lightweight materials to avoid exceeding your vehicle’s weight capacity. Consider the weight of fixtures and appliances before purchasing.
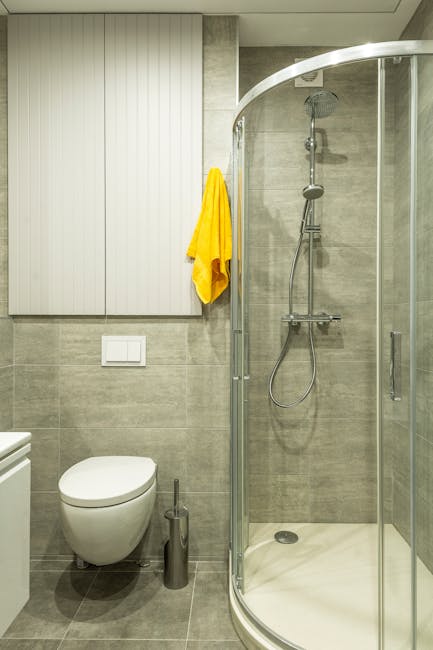
4. Space Optimization
Maximize space using clever storage solutions, such as wall-mounted cabinets, shelves, and organizers. Choose compact fixtures to save space without sacrificing functionality.
Finding Professionals for Your RV Bathroom Remodel
If you’re not comfortable undertaking a DIY remodel, consider hiring professionals. Research reputable RV repair shops and contractors specializing in RV renovations. Get multiple quotes and compare services before making a decision. Ensure they have experience with RV-specific challenges and regulations.
Conclusion: Your Dream RV Bathroom Awaits
Transforming your RV bathroom doesn’t have to be daunting. With careful planning, the right materials, and attention to detail, you can create a luxurious and functional space that enhances your RVing adventures. Remember to prioritize ventilation, water management, weight considerations, and space optimization. Whether you choose a DIY approach or hire professionals, the result will be a bathroom you’ll love to use, making your RV trips even more enjoyable.
